Showing posts with label Card. Show all posts
Showing posts with label Card. Show all posts
Thursday, July 19, 2018
"Super" Haul From Kindred Stamps
So much awesomeness!
Watch to see all the goodies!
For the card I just colored the character with colored pencils, cut it out and started layering... I had the spiderweb die from "memory box"in my stash. I fussy cut the "smash" from the printed paper that was in my kit.
Thursday, November 16, 2017
Craft fair project.. Mini coffee cup holder
Hi all, I have been working on a few projects for my first craft fair in a few weeks. If you follow my Instagram you have probably seen some of my goodies there. This weekend I got my order of mini coffee cups (a friend and I split 100) We ordered them here... Webrestaurantstore.com you can also find them on Amazon Mini coffee cups and lids.
 I made a template in my Scan N Cut to wrap around the cup. for the holder I cut 1 piece of paper 2 3/4 x 7 and one 2 3/4 x 8 1/2 . score both from one short end at 1 7/8", then at 4 3/4" and at 6" on the longer piece also score at 7 1/2.
For assembly glue together (on top of each other for a base) where you scored 1 7/8. For the outside pocket on this one I do not remember the exact dimensions I just did it to fit the width of the card + 1/2 inch so I could fold in 1/4" on 3 sides to fold under and glue to the front.


For this one I cut a slit along the fold on the back side leaving 1/4 inch on either side of the slit.
I'm hoping to make a video but I can't make any promises :) Life has been hectic and I have 12 dozen cookies due for a cookie exchange and I am hosting thanksgiving next week.... ahhhhh!!!! LOL!
Have a great day! Thanks for stopping by!
Sunday, August 13, 2017
Galaxy Inspiration, Cake and cards...
Hi all! As I was racking my brain recently to figure out a theme / design for my girls sweet 16 birthday cake I was inspired to try a Galaxy theme. She loves the galaxy motif so I went to pinterest. I found a few samples that inspired me and I thought I had the basic process down since I had done the process on card stock, surely fondant could not be too much different... Hmmm... yeah... Well turns out it isn't but it is... It took LOTS of kneading and LOTS of food coloring and LOTS of patience! In the end here is how the cake turned out...

I'm pretty happy with it! I found some edible shipper spray at Wal Mart and used it with a stencil I tore out of paper to create the wispy look. The grainy white "comet" in the upper right corner was how I fixed and "OOPS" I also added a few constellations I could remember from our Girl Scout Star gazing outing from years ago.
Verdict.... She really liked it!
Now how does this translate into cardmaking you may ask... Well I wanted to try this again for some card backgrounds so I could use some of my stamps to make some cards with the night sky in the background.
Here is the video on how I made the backgrounds...
I still have to make the cards but at least this part is done!
Here is a basic list of the supplies I used
Heat gun
Ken Oliver Colorburst watercolors
Memento Tuxedo Black ink
Stampin Up Night of Navy inkpad
Strathmore 140# watercolor Paper (Yellow pad)
Thanks so much for stopping by!
Please leave me a comment and let me know how you liked this post!
Friday, July 14, 2017
Shakopee Rubber Stamp Expo July 2017
Hi all!
I had so much fun at the Rubber Stamp Expo last weekend. How lucky am I that I got to spend the day with 2 of my favorite people. My Sis in law Cathy and my amazing Daughter.
Here are a few photos... There were many more vendors I just kept getting distracted by cool stuff so I did not get pictures of every booth :)
 |
| Me and my Sister-in-law :) |
 |
| Taylored Expressions |
 |
| Pricly Pear Designs |
 |
| Stamp n Storage |
 |
| Rubbernecker |
 |
| stranger who wandered into my photo... fooled you... it's actually my girl :) |
We had so much fun braving the crowd (Most of the pics were later in the day when it had cleared out) We were such a team. My girl took lots of photos of samples for me and made lots of purchase suggestions :) Gotta love a family of enablers :)
Here is a video of everything I purchased and a shaky tour of the expo floor.
Thanks for stopping by!
Have a great day!
Saturday, May 27, 2017
Get Well Shaker card...
I had a lot of fun making this "Get Well" card for a Co Worker last week. This person does so much for others and deserved a special card.


I just love shaker cards and I have been experimenting with cutting out words with my Brother Scan n Cut so I made this frame out of white card stock with the words welded so it is all one piece. To make the white card stock stand out a bit more I coated it with Versamark and covered it with a holographic embossing powder. Then heated it to adhere and set the powder. I placed a piece of acetate behind the frame (I just re use packaging from other things I buy),doubled up some foam tape and cut it down the center to form narrow strips then lined the back of the frame. To cut the purple I used 2 frame dies then added the white window piece on top. I pulled an A2 card base out of my drawer (I like to have lots handy for when I'm feeling creative). I added Chunky glitter and sequins to the card base in the center then placed the window on top. I had to add the flower embellishments to fix a spot that got messed up. The Acetate got melted when I tried to fix a bit of embossing that had not set and was wiped off. It worked out because I ended up liking the look.
Thanks! and have a great day!
Tuesday, April 18, 2017
Easter Cards...
I waited until after Easter to post this because I did not want to spoil the surprise for my friends and family that were to receive these cards.
The first uses one of my Riley Moose Stamps called Stacked Eggs . I scribbled water based marker onto a pallet and used a water brush to paint.

The Patterned Paper is by Doodlebug designs. I cut both Riley and the oval with my new Brother Scan N Cut2. For Riley I added a .04 border and to cut the Oval I selected it from the shapes templates. I made the white dashes with a white gel pen. I would have preferred a stitched oval di for cutting it out but do not own one.
My next card was inspired by Pinterest. I had wanted to make it last year but my Oval dies were not large enough. With my Brother Scan n Cut2 this was no problem. Using the oval templates I was able to cut out exactly what I needed.

I really wanted to film the process but as of right now I do not have a way to mount my camera in the right place. I am waiting on a new clamp from Amazon so next time I can try to let you watch. It is a pretty fun process.
Thanks for stopping by!
Sunday, October 30, 2016
Cards, Cards, Cards...
I had a chance a couple weekends ago to spend a Saturday with some of my crafty friends. Oh how I needed a "Day Off!" We had an amazing time as the bunch of us had not been all together in one room for over a year. The laughter and creativity of the day was an amazing gift!
Here are some of the cards I made. Most are posted over on my Instagram account. My handle is b2bmomblog if you want to check it out.
These are all inspired by other cards I saw on Pinterest. I hope they inspire you!


Here are some of the cards I made. Most are posted over on my Instagram account. My handle is b2bmomblog if you want to check it out.
These are all inspired by other cards I saw on Pinterest. I hope they inspire you!


Tuesday, September 27, 2016
Coloring fun with Riley Moose Edited 10/30/16
I will add more to this post when I get home this afternoon but wanted to post this picture of some fun coloring I was doing last night. I LOVE the Riley character from Riley and Co! He is just so darn cute! All are colored with alcohol markers except the top middle. That is watercolor markers. I think that and the bottom witch are my favorite. Still working on learning to blend but I'm definitely improving. Now I'm off to my day job!

Finally made some cards with my Rileys...


 This last one was really fun! I tried to duplicate some "Galaxy Techniques" I had seen on YouTube.
It took a bit of work since I did not have nice watercolor paints like the demo's I watched but I used my distress inks and Memento black all stamped onto a clear block I used as a palette then spritzed with water. I struggled to get the white flecks (stars) and ended up using a white pigment ink from a ink pad. I also stamped it onto a clear block added water then flicked it with a paint brush.
The tree is cut out of tan textured paper from an inexpensive multi pack I got at a craft store. I cut the tree with an older Sizix die I got for a bargain at a garage sale. I gave it dimension with some distress ink using a sponge to apply it.
The other small elements are punched with an older Creative Memories punch. The pumpkins were punched fro orange paper and I used a Copic marker to create a bit of dimension.
I hope you feel inspired to play with you craft supplies! I seem to have the most fun when I just start "trying stuff". Have a great day!
Paulette

Finally made some cards with my Rileys...


It took a bit of work since I did not have nice watercolor paints like the demo's I watched but I used my distress inks and Memento black all stamped onto a clear block I used as a palette then spritzed with water. I struggled to get the white flecks (stars) and ended up using a white pigment ink from a ink pad. I also stamped it onto a clear block added water then flicked it with a paint brush.
The tree is cut out of tan textured paper from an inexpensive multi pack I got at a craft store. I cut the tree with an older Sizix die I got for a bargain at a garage sale. I gave it dimension with some distress ink using a sponge to apply it.
The other small elements are punched with an older Creative Memories punch. The pumpkins were punched fro orange paper and I used a Copic marker to create a bit of dimension.
I hope you feel inspired to play with you craft supplies! I seem to have the most fun when I just start "trying stuff". Have a great day!
Paulette
Wednesday, August 24, 2016
Finally a bit of creativity, some backstory and some news.
I have been struggling with my creativity the last few weeks. No wonder with all I have had going on. What have I been up to? Well...
I am heavily involved with a local booster club and with practice for fall sports in full swing I have had lots of responsibilities. I organized a dunk tank at our local block party. I was in charge of a fundraiser to kick off the season. I have been working with parents new to our sport to help their families feel like they know what is going on. (Putting your child in a new sport you know nothing about can be daunting especially with a combined MS and HS team)
I was able to fit in a girls weekend about 3 weeks ago and I was so glad I did! It was time much needed with a dear friend!
Next week I am having my daughters team over for a "feed" You would not believe how much bread and pasta 30 girls can eat!
Last but not least I have been helping my out of state mom get things in order to move here to my town! Yayyyy!!! It has been an emotional roller coaster that I really can not begin to describe unless you have lived it. My family and I are just so thankful that she will be with us!
I have lived 1500 miles from my Mom for 17 years and 1000 miles from the rest of my family for 19 years. While I LOVE my mid west life, living far from family does have it's downside especially if you have children. While My husbands family is in our state the closest of his siblings is an hour away. Thankfully my kids have a wonderful relationship with that Aunt and Uncle (Partly because that Aunt is relocated from the west coast so she gets it. She and I are Great friends!) I wish I could say that the kids have a relationship with their grandparents that are 3 hours away but, well... they do not.
Thankfully I have been able to handle much of the paperwork for her here otherwise thank goodness for fax machines to keep things moving. There is a TON of paperwork for subsidized housing! I got her storage unit rented and took care of setting up her electric service. Now I am working on getting some staples and a few special gifts to make her feel welcome. If you have any ideas please let me know!
So, for the creativity part of this post... Here is a card I made from one of the colored images from my last post.
 I was not sure how much I liked it but it got a "WOAH, That's cool!" from my boy (11). So I guess it is a keeper, or at least it is gift worthy. He said He wishes he would get an awesome card like this for his birthday. Can I just say I love this kid!
I hope you enjoy this card as much as my boy :)
Thanks for stopping by!
I am heavily involved with a local booster club and with practice for fall sports in full swing I have had lots of responsibilities. I organized a dunk tank at our local block party. I was in charge of a fundraiser to kick off the season. I have been working with parents new to our sport to help their families feel like they know what is going on. (Putting your child in a new sport you know nothing about can be daunting especially with a combined MS and HS team)
I was able to fit in a girls weekend about 3 weeks ago and I was so glad I did! It was time much needed with a dear friend!
Next week I am having my daughters team over for a "feed" You would not believe how much bread and pasta 30 girls can eat!
Last but not least I have been helping my out of state mom get things in order to move here to my town! Yayyyy!!! It has been an emotional roller coaster that I really can not begin to describe unless you have lived it. My family and I are just so thankful that she will be with us!
I have lived 1500 miles from my Mom for 17 years and 1000 miles from the rest of my family for 19 years. While I LOVE my mid west life, living far from family does have it's downside especially if you have children. While My husbands family is in our state the closest of his siblings is an hour away. Thankfully my kids have a wonderful relationship with that Aunt and Uncle (Partly because that Aunt is relocated from the west coast so she gets it. She and I are Great friends!) I wish I could say that the kids have a relationship with their grandparents that are 3 hours away but, well... they do not.
Thankfully I have been able to handle much of the paperwork for her here otherwise thank goodness for fax machines to keep things moving. There is a TON of paperwork for subsidized housing! I got her storage unit rented and took care of setting up her electric service. Now I am working on getting some staples and a few special gifts to make her feel welcome. If you have any ideas please let me know!
So, for the creativity part of this post... Here is a card I made from one of the colored images from my last post.

I hope you enjoy this card as much as my boy :)
Thanks for stopping by!
Sunday, July 31, 2016
Lots of coloring this week :)
A week or so ago I posted about stamping multiple images while you have your supplies out. Well I had some opportunities the last week or so to do some coloring. I used 3 different techniques for coloring. Here are the images I colored...
 I LOVE how this came out!!! I used my Koh I Noor Woodless Colored Pencils and Odorless mineral spirits (inexpensive from Walmart) to blend the colors. I love that is looks almost like coloring with alcohol markers. You do also need some blending Stumps to make this technique work. I got mine for around $5 at Walmart. I do plan to work on a video for this but you can find lots on Youtube already.
This Fairy is from Crackerbox stamps
Here are a few more images I colored with this technique

These Two Mermaids are from Unity Stamp Company as part of their "Angie Girl" line. This one is called "Sammy girl"


This cute mermaid is from Penny Black and is part of her "Mimi" line. This was my first impression with this stamp which as you can see did not come out perfect. I decided it was still just right to practice some coloring.
 Next I have one that I used just colored pencils and did not blend... I am still working on coloring vehicles... It is not as easy as it seems... As you will see in the next photo.
If you have any tips for my on coloring vehicles please let me know in the comments!
 This are 2 pictures in this group that I used my Spectrum Noir markers for the coloring. I mostly liked how they turned out. Also I did use come metallic markers from Crayola to try to get the chrome look on the truck. The markers have a pretty blunt tip so it was hard to get the detail right. I made the light blue shadow with watercolor pencils and water.
 Here is Gianna, another "Angie Girl" from Unity Stamp Company. This is my first time trying to color one of these stamps with my Spectrum Noir markers. I did mess up in a few places but overall I like how it turned out.
Next up are some images colored with my watercolor pencils...

These Lighthouses are all from Stampendous.


This Poppy stamp is also from Unity Stamp Company. I was really pleased with how all of these turned out!

I thought it would be fun to try some different colors other that the traditional red for the poppies.
Now to make some cards from all my colored images...
Thanks for joining me!

This Fairy is from Crackerbox stamps
Here are a few more images I colored with this technique

These Two Mermaids are from Unity Stamp Company as part of their "Angie Girl" line. This one is called "Sammy girl"


This cute mermaid is from Penny Black and is part of her "Mimi" line. This was my first impression with this stamp which as you can see did not come out perfect. I decided it was still just right to practice some coloring.

If you have any tips for my on coloring vehicles please let me know in the comments!


Next up are some images colored with my watercolor pencils...

These Lighthouses are all from Stampendous.


This Poppy stamp is also from Unity Stamp Company. I was really pleased with how all of these turned out!

I thought it would be fun to try some different colors other that the traditional red for the poppies.
Now to make some cards from all my colored images...
Thanks for joining me!
Sunday, July 24, 2016
Tip... Stamp multiple images while you have your supplies out...
Hi all, Life has been super busy the past few weeks with running kids around and keeping up with things in and around the house. I always seem to forget that just because I am lucky enough to not work at my job during the summer does not mean there is nothing to do.
A few weeks ago I completed version 2 of a stamp positioning tool. You can learn more here... DIY stamp positioning tool
As I was stamping an image for a planned card it occurred to me that I should just stamp a bunch of images while I had everything out so that is what I did. :)

I stamped 2 of each design with Onyx Black Versafine ink since I have found that that ink lends well to either Coloring with alcohol markers or Watercolor.
The top row is a bunch of new stamps from Unity stamp company
The center row are all from Inkadinkado
The bottom row are both from Cracker Box Stamps.
(all were purchased by me for personal use)
Thanks for visiting!
Saturday, July 9, 2016
My "Tess" for the Angie girl Challenge at Unity Stamp Co... Show and tell
Here is my first version of coloring "Tess" for the Angie girl challenge at Unity Stamp co. Show and tell...

I stamped her onto Classic Crest Super Smooth neenah solar white 80# cardstock with VersaFine onyx black
I colored her with my Koh-I-Noor Woodless Colored Pencils
The blue highlights around the edges are from distress ink that I applied with a round bristle brush.
I attached the image to some Kraft card stock (Cheap stuff from Walmart) and I lined the inside with some white inexpensive GP card stock (also from Walmart)
This was a fun project to color but I kept it simple, as I often do.
I uploaded this card to the Challenge album over at Unity Show and tell Facebook page
Thanks for visiting!
Thursday, August 27, 2015
Card Making fun...
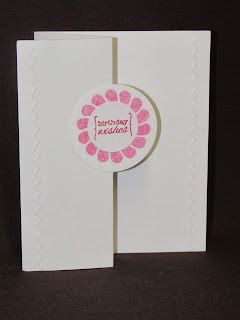
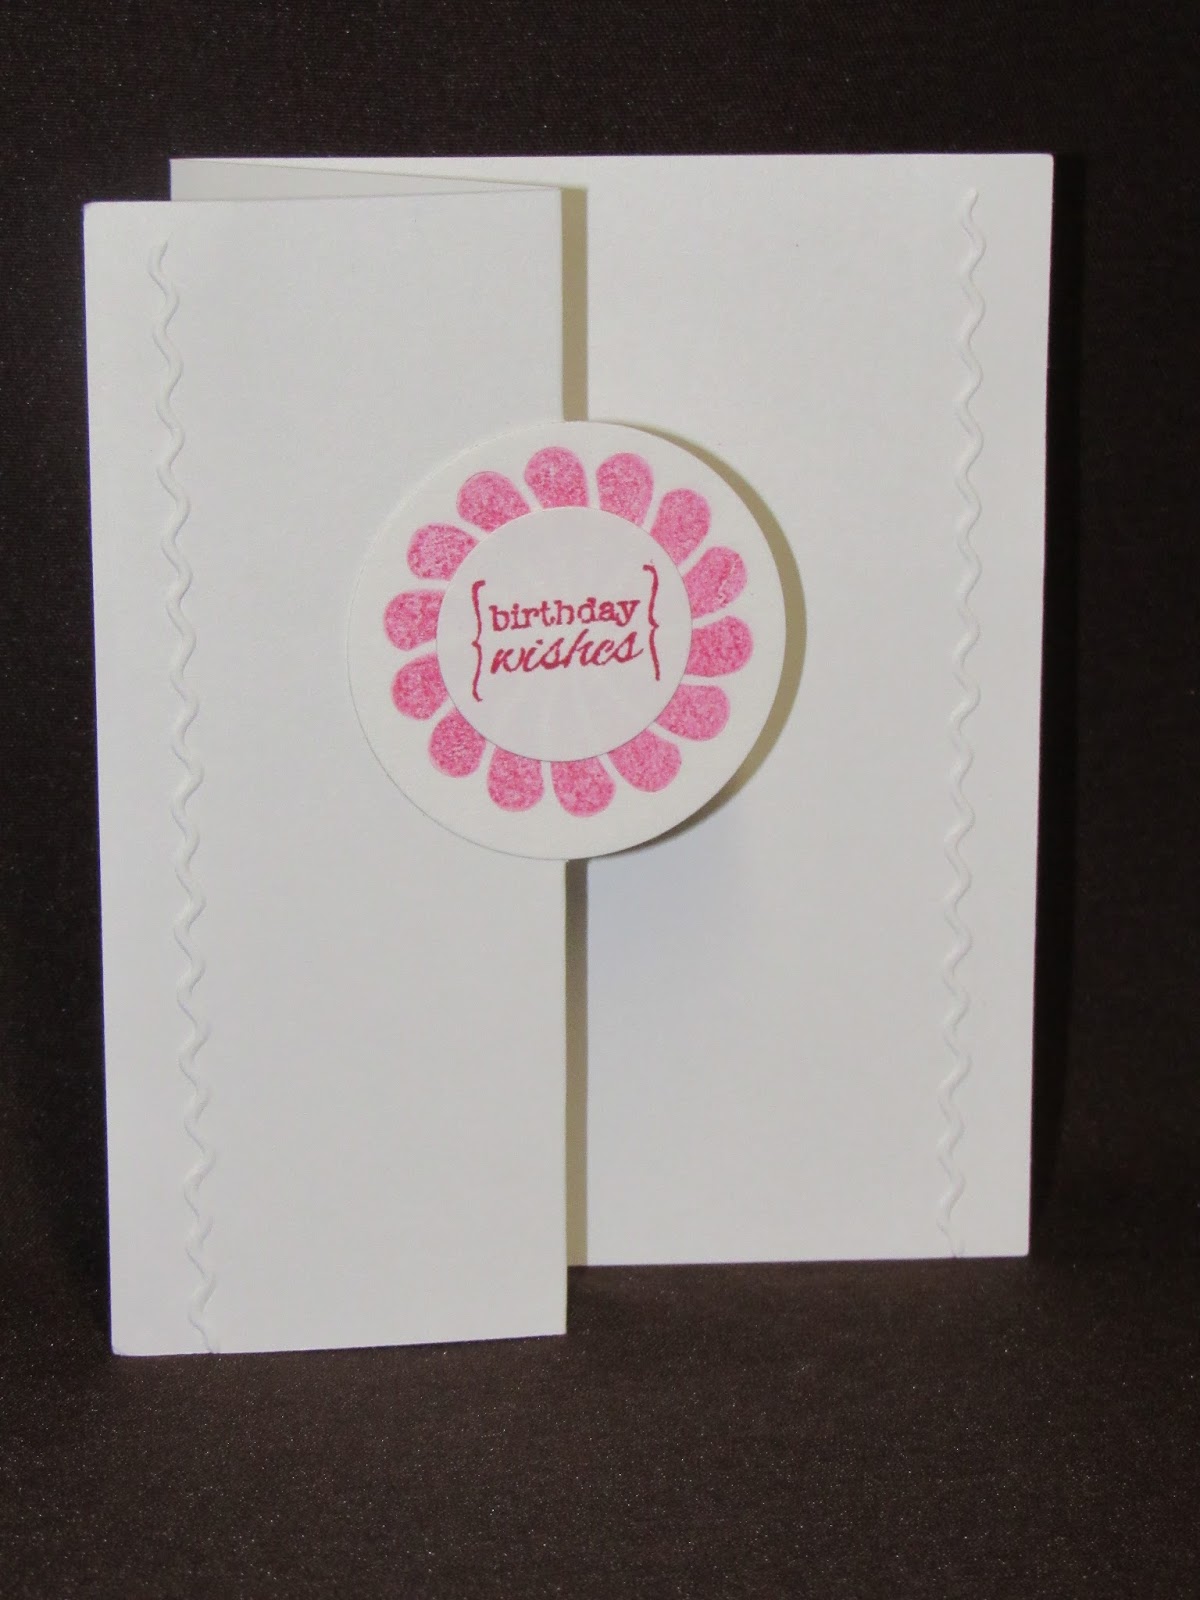
My Sister -in- law and Daughter have gotten me hooked on card making. I have been scrapbooking since my girl was little but this is a new endeavor for me. Like many of the crafty things I do I like to keep my endeavors fairly simple.
Here are some I have made in the last week or so. I did step out of my comfort zone a bit but I am really liking the results!
I use a variety of paper, stamps and embellishments in my card making. The ink is 99.9% Stampin up. I am VERY frugal when spending money on my crafting supplies! Please look for sales and sop deals on Amazon to compare prices!


The Lighthouse stamps are from Stampendous that I got 50% off from a sale at Joann Fabrics. I stamped the design on watercolor paper. I got a good size pad on clearance at Walmart! Woohoo!!! I used my SU ink pads and a wet brush to pick up just a bit of ink to color in the designs just enough to give some detail.

This <- is my favorite!


The butterfly card was so fun! I used my stamp pads to pick up some ink with sponges and sponged it on white card stock. Then used my SU thinlet dies to cut the butterflies. The colors are Melon mambo, Tangerine Tango and daffodil delight. The embossing folder is from Darice.

Here I used Metallic black Embossing powder on Black card stock to get this simple yet elegant look.
If you have questions about any let me know! I got most of my ideas and inspiration from Pinterest :)
Subscribe to:
Posts (Atom)