I am on a mission... to create, to inspire, to learn, to educate, to save, to grow, to be better... Join me :)
Showing posts with label bread flour. Show all posts

Wednesday, April 16, 2014

Hi tech... Maybe not...

It's that time of year.... I'm making my annual foray into my families tradition of making easter bread. I'm not a novice at bread making but during cooler weather it can be a challenge in my house. We keep things on the cooler side which is not conducive to bread dough rising, especially this easter bread which has a relatively low amount of yeast relative to flour. Over the course of this VERY cold winter I have discovered a very hi tech way to help my  dough rise...


Here I have 8 loaves all rising at once :)    Stackable cooling racks are the BEST!


I have my Crockpot on the lowest setting and I moved the racks around every 15 minutes or so. You need to be careful as if it gets too hot your dough can actually cook and that is not the result we are looking for...

I love finding solutions... especially relatively low tech ones.

Here is my girl working hard to help knead the dough...


this is what the loaves look like after rising and being brushed with an egg wash...


I forgot to take a picture of the finished loaves but here is a picture of last years crop... 


I will share the recipe for this bread another day :) 

Saturday, January 11, 2014

Cinnamon Raisin Oatmeal Bread

* UPDATE *  I have made this 4-5 times now and you really do need to weigh the ingredients! The results are MUCH better!


Isn't it funny what can result from looking up info online? I was looking for tips on freezing bread dough and I ran across this awesome bread cooking forum called The fresh loaf. There I found wonderful advice, tips and yup recipes!

I have also been thinking it would be nice to have something easy and warm for breakfasts and something I could take to work that was also a bit healthier than a bagel. This bread looked like it would fit the bill by still being a bit indulgent but also being an OK food choice.

Looking at the recipe the first time I admit I was a bit apprehensive. It looked complicated. I was pleasantly surprised that while it took a bit more time than my favorite sandwich bread it was not too bad at all (at least as far as bread is concerned)

Here is a link directly to the recipe cinnamon raisin oatmeal bread

It is helpful to have a kitchen scale. Any serious baker will tell you it is better to weigh ingredients for baking. (I invested in a scale over the holidays when Aldi had them for $9.99).

Do not be like me... I did not read the directions fully and did not measure the water I soaked my oats in OOPS!!! Luckily it worked out OK... Phew...

Also after reading other peoples experience I only did 2 rise cycles. My first rise took some time. A few hours. Then I kneaded the dough and made it into 2 loaves. Yes the recipe calls for making 3 but I have larger stoneware loaf pans so I was pretty sure it would be fine. If you are using Pyrex bread pans definitely do 3! Or make rolls as another poster on the forum did. I will do that next time to try it out!

Next time I make this I will also slightly warm the water I use to soak my Oats. I think this may have hindered my rise a bit. Although a slower rise can create more flavor.  I was also a bit short on raisins but It was still fine.More would definitely be better though!

If you have NO experience with dough this would probably not be my choice for your first bread endeavor. It does take a bit of knowledge and experience to get a "feel" for if a dough is going to work out. If you have mixed and kneaded at least a few loaves successfully you should be fine :)

If you decide to give this a try hopefully this is what you will end up with... Enjoy!

Mmmmmm... Lots of melty butter to make it extra yummy!


Tuesday, March 26, 2013

A new variation on our favorite bread...


OMG... This is soooo good! I'm so happy my hubby picked up the wrong kind of flour last week! My favorite flour is Dakota Maid unbleached all purpose flour. My hubby mistakenly picked up Bread flour last  week. Now you may think this is not a big deal but if you want to make pancakes and muffins it does not work so well. Bread flour has more protein and gluten so things bake with a more dense consistency.  I wanted to use up the bread flour so I was doing some reading and decided I would try to adapt our favorite sandwich bread.
  I decided to try substituting a cup of wheat flour for a cup of the white all purpose and bread flour for the rest of the all purpose. My thinking was 1. I follow a similar process when making the light wheat from the Artisan bread in 5 minutes cook book. 2. you need more gluten when working with wheat flours because the tend to be more dense.

Here is the altered recipe Printable recipe is here

*Makes 2 loaves

INGREDIENTS
3 cups luke-warm water
1/4 cup sugar
1 1/2 Tbsp. yeast
1/3 cup oil
1 Tbsp. salt
 5- 6 cups bread flour
1 cup whole wheat flour
DIRECTIONS
In a large mixing bowl, dissolve yeast in warm water and sugar. Let sit 10 minutes. Add the oil. Add the dry ingredients starting with wheat flour, then add 1 cup of white flour and then add the salt. Mix until combined. Add flour 1 cup at a time until dough pulls away from the side of the bowl or knead the dough thoroughly until all ingredients are incorporated, and dough is smooth, elastic, very slightly sticky (6-10 minutes). As you knead the dough, you may add more flour as needed, and repeat the process until dough reaches the desired consistency. 
Cover the bowl of dough with a dish towel or plastic wrap and let rise until doubled (an hour or more depending on how warm your kitchen is.) If your kitchen is cold like mine you can place the covered bowl inside the oven with the oven light on, and another bowl of warm water sitting on the lower rack. Or if you are like me and your crockpot is always on the counter you can remove the cover, set a cooling rack on top and set heat to warm. Place your covered bowl on top. Warning! if your Crock pot runs hot turn it off after a while otherwise this is what happens :)
FYI this was not todays dough and I did manage to save the above batch and the bread was fine.
Punch the dough down, divide and and form into 2 loaves. Place the dough in 2 greased bread pans. (I use 9" pans.) Cover and let rise till the top of the dough is an inch or two above the bread pans. Even in my cold kitchen this part only takes about 30-45 minutes.
Bake at 375 degrees for 25 minutes. Brish the tops of the bread lightly with butter. Remove the baked loaves from their pans immediately, and place on a cooling rack.Slice and serve after they have cooled for at least an hour.

 Girl Approved!

Please disregard my children's disheveled look. We are  on spring break and getting dressed is not high on our priority list :)


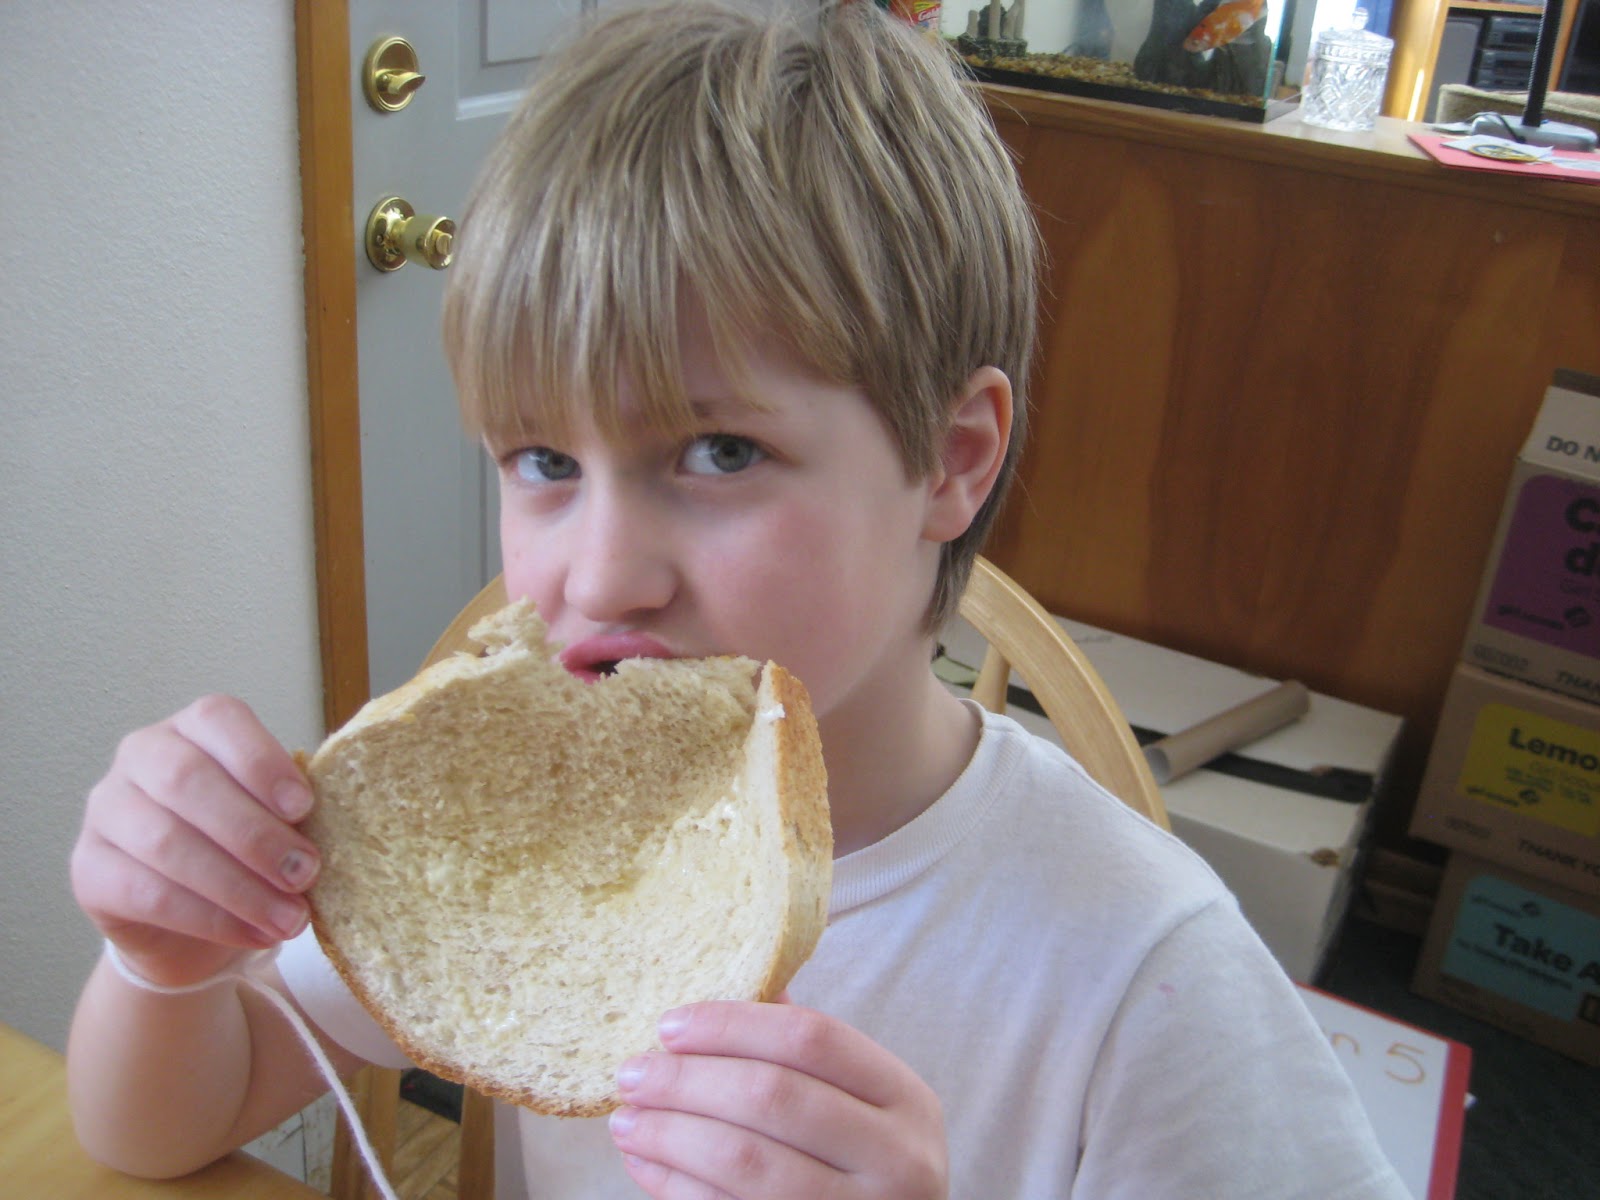
                                                                      The Boy loves it too!

Putz Factor 3