I am on a mission... to create, to inspire, to learn, to educate, to save, to grow, to be better... Join me :)

Thursday, June 30, 2016

Strawberry Freezer Jam... B2B inspiration


This is about 3 pounds of berries. We picked a total of 9 pounds

Yesterday The Boy and I went to pick strawberries at our amazing local (20 minutes away) U-Pick farm. There were other moms there with their smaller children and it reminded me of my first trip to pick berries with my children. Picking those berries and making jam was some of my first inspiration for creating this blog. So many people have no idea how easy it is to make something so simple yet ads such joy and satisfaction. Yes it was a bit more work but including picking it only took about 4 hours to make all this jam. I worked pretty slow since the berries were small and I let the boy off the hook from helping with the berries since (I needed his help in other areas around the house :)

I used Pomona's universal pectin this time. I like it because you can use less sugar.
I followed the recipe in the box for a cooked jam but instead of canning I put it in the freezer.


The Freezer Jam I have done in the past I made in this way.

The first batch I used 1/2 cup honey and 1/2 cup sugar. FYI the honey recipe will always be a bit more runny but my family is fine with it.

For the rest I use a Cane sugar I got from Aldi last week and it looks like it has jelled nicely.


YUM!!!

Thursday, June 23, 2016

Mermaid Card....

I am sooooo excited about how this card turned out!

Scroll to the bottom of this post to see a video of me making another Mermaid card just like this.

The Stamp is from Unity Stamp company
The stamp is designed by Phyllis Harris

I stamped with Black StazOn onto Neenah solar white 80#  and fussy cut out the mermaid but only her body and head. There was no way to get all her flowy hair. I added some post it glue stick to the back. You could use post it tape or paper but I did not have any.

I then stamped the mermaid onto my 5 1/2 x 4 1/4 card base.
Lay the mermaid mask on top then placed my new Dina Wakley "Mighty Wave" stencil on top and taped it down.

I used 3 distress inks... Salty Ocean, Peacock Feathers and Broken China
I applied them with a sponge blending tool moving my stencil between colors. After removing the stencil I filled in any white spaces with a "light touch" using the broken china color and let the whole thing dry well.

After it is dry I carefully colored in the mermaid with watercolor pencils and a water brush. Be careful  not saturate the paper too much since the distress inks will blend when wet. I let each section of the mermaid dry between coloring. To do the hair I traced each strand and with my water color pencil then with the tip of my water pen and the tiniest bit of water traced again. The colors do blend a little bit but not too much. Let the whole thing dry well or you can use a heat gun to speed things up.

To get the water mark effect I splattered water with a paint brush, adding a little at a time until I got the desired look.

I Stamped the Dolphin on to a scrap of the Neenah solar white and colored in with my grey and black watercolor pencils. Use a fine tip water brush to blend. I let dry completely and fussy cut it. I added it to the card with some fun foam and double sided tape (foam tape would also work).

To finish off the card I used some small blue gems and come clear chunky glitter attached with Tombow mono multi glue applied with the tip of my stylus. I then trimmed up the card a bit and mounted it on navy  then white card stock and placed on a teal card base.

Done!

I am also going to try this on watercolor paper to see if I like the results any better. I liked how the water did not move too much on this card stock though.

Here is the video...


Thanks so much for stopping by!!!


Wednesday, June 1, 2016

Crafty Haul Video #2 and a peak at a new Grad card

My Simon Says Stamp and Unity Stamp Co Haul Video

What happens when you follow other crafty people on Facebook and You Tube? You fall victim to late night shopping sprees...

I can not wait to play with these stamps!

Monday, May 30, 2016

Experimenting with Watercolor

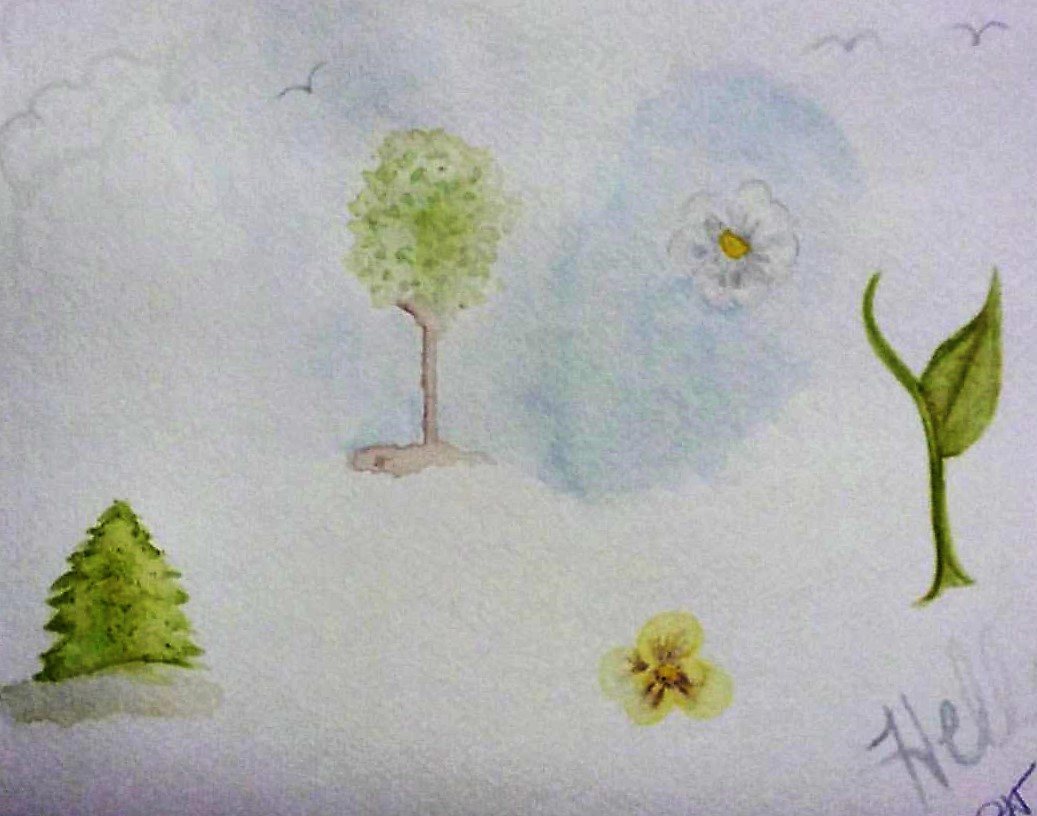
I have been dabbling with watercolor for a few months but always using a rubber stamp as the base. To learn some techniques I have been watching LOTS of crafty You tube videos and decided to play around a little today.

Here are the supplies I used...

Watercolor Pencils ...                                     
Watercolor Paper... 
A piece of Acetate... (I used a clear bag from some packaging)


 I used the bag to rub my pencil and add water to get the color flowing.

A Watercolor brush and clean water.

FYI All the supplies I used I purchased with coupons from Michael's. The Water color paper I got on a Great sale Michael's does in March. Everything was at least 50% off.  The pencils run about $15 on Amazon. They are a step above crayola but not near as spendy as the artist grade. I am happy with them so far.

Here are my results...

Not too bad if I do say so... :) 

My advice... If something peaks your interest give it a try even if you don't think you can. You tube is a great resource for all types of information and instruction.

If you like crafty stuff please check out My Back2Basics Mom You Tube Channel

I also want to mention that I have NO training in art. Everything I do is either self taught, learned from experience or from ideas on You Tube. Just because I post about how I have done something does not mean it is the "best" way to do it. Please experiment and find what works best for you!

Sunday, April 17, 2016

Sweet Orange breakfast rolls

  So for those of you who follow my Easter posts you know
that I make these Bunny rolls that my family loves...

 Recipe Here...


Well this recipe makes A LOT! so I have started making 2 bunnies per person (8) then with the rest of the dough I make breakfast rolls.


 Who would not want this deliciousness... 


 Start by mixing 3/4 cup of sugar with any remaining zest from the orange you already used or 1 Table spoon from any orange (Keep the orange as you will use its juice in the icing!). Let your sugar sit while you roll the dough.

  Generously butter the pan in which you will cook your rolls. I use aluminum pans since I often freeze my rolls for a later date.

  I roll the dough as if I were making cinnamon rolls so I roll the dough out to  approximately a 12 x 18 rectangle. (dough should not be less than 1/4 inch thick!)

Melt a tablespoon of butter and brush on dough. Spread sugar mixture over dough leaving 1 inch at the top clear.

Roll dough from the long side up. I cut my rolls with dental floss or thread. Cut a piece  12-18 inches long, Slide it under the rolls then pull each end of the string toward each other so it cuts the dough. Rolls should be 3/4 to 1 1/4 inches thick. Place rolls in the pan to rise until they are double n size.

At this point I either bake them or freeze them. Usually freeze since we already have our bunny rolls for Easter.

To bake I take the rolls out the night before and let them sit on my counter uncovered. In the morning bake at 350 for 12 - 15 minutes.

Let cool a bit then frost (recipe below).

Frosting:
This recipe is different for me every time as I never measure so I will do my best to get you simmilar results.

Soften 1 tablespoon of butter and add 1/2 cup of confectioners (Powdered) sugar. Mix well. Add 1 Tablespoon of orange juice from your zested orange. add 1-2 teaspoons of granulated sugar. Whisk or mix well (I do this all by hand in a small bowl. You can use a hand mixer as well).  Add Confectioners sugar until you get the desired consistency. You do not want it runny but do not want it super stiff either, it needs to be spreadable.