I am on a mission... to create, to inspire, to learn, to educate, to save, to grow, to be better... Join me :)

Monday, May 30, 2016

Experimenting with Watercolor

I have been dabbling with watercolor for a few months but always using a rubber stamp as the base. To learn some techniques I have been watching LOTS of crafty You tube videos and decided to play around a little today.

Here are the supplies I used...

Watercolor Pencils ...                                     
Watercolor Paper... 
A piece of Acetate... (I used a clear bag from some packaging)


 I used the bag to rub my pencil and add water to get the color flowing.

A Watercolor brush and clean water.

FYI All the supplies I used I purchased with coupons from Michael's. The Water color paper I got on a Great sale Michael's does in March. Everything was at least 50% off.  The pencils run about $15 on Amazon. They are a step above crayola but not near as spendy as the artist grade. I am happy with them so far.

Here are my results...

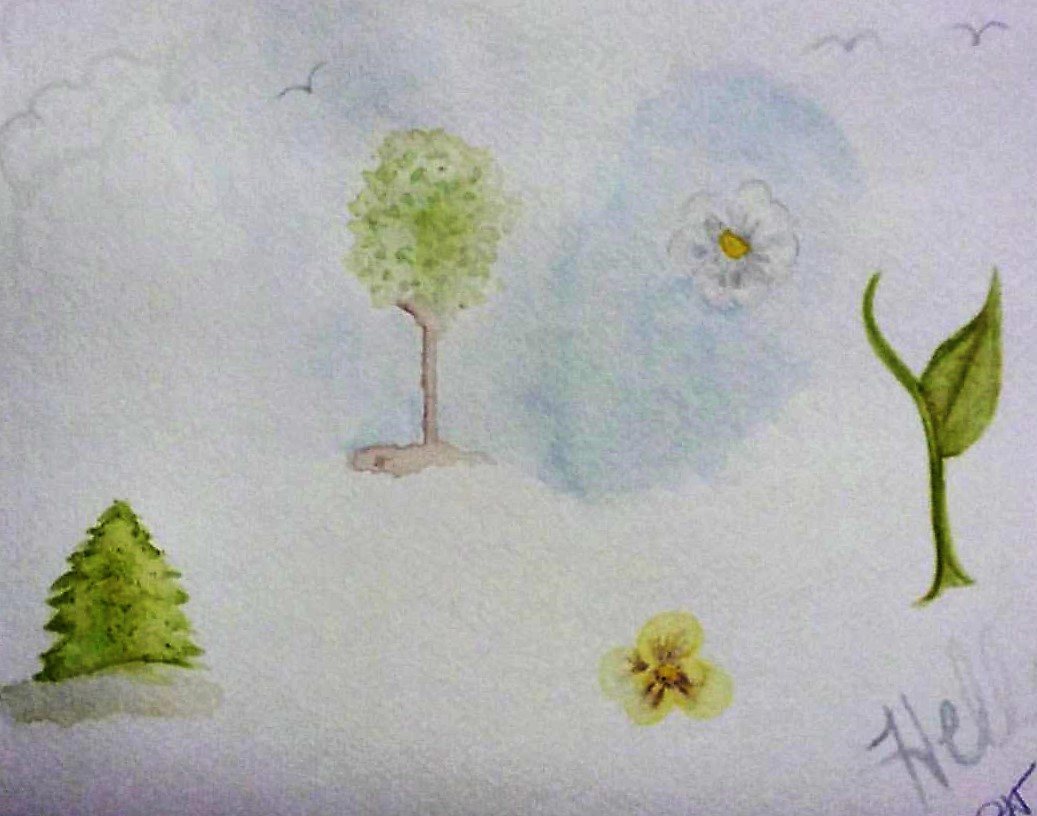
Not too bad if I do say so... :) 

My advice... If something peaks your interest give it a try even if you don't think you can. You tube is a great resource for all types of information and instruction.

If you like crafty stuff please check out My Back2Basics Mom You Tube Channel

I also want to mention that I have NO training in art. Everything I do is either self taught, learned from experience or from ideas on You Tube. Just because I post about how I have done something does not mean it is the "best" way to do it. Please experiment and find what works best for you!

Sunday, April 17, 2016

Sweet Orange breakfast rolls

  So for those of you who follow my Easter posts you know
that I make these Bunny rolls that my family loves...

 Recipe Here...


Well this recipe makes A LOT! so I have started making 2 bunnies per person (8) then with the rest of the dough I make breakfast rolls.


 Who would not want this deliciousness... 


 Start by mixing 3/4 cup of sugar with any remaining zest from the orange you already used or 1 Table spoon from any orange (Keep the orange as you will use its juice in the icing!). Let your sugar sit while you roll the dough.

  Generously butter the pan in which you will cook your rolls. I use aluminum pans since I often freeze my rolls for a later date.

  I roll the dough as if I were making cinnamon rolls so I roll the dough out to  approximately a 12 x 18 rectangle. (dough should not be less than 1/4 inch thick!)

Melt a tablespoon of butter and brush on dough. Spread sugar mixture over dough leaving 1 inch at the top clear.

Roll dough from the long side up. I cut my rolls with dental floss or thread. Cut a piece  12-18 inches long, Slide it under the rolls then pull each end of the string toward each other so it cuts the dough. Rolls should be 3/4 to 1 1/4 inches thick. Place rolls in the pan to rise until they are double n size.

At this point I either bake them or freeze them. Usually freeze since we already have our bunny rolls for Easter.

To bake I take the rolls out the night before and let them sit on my counter uncovered. In the morning bake at 350 for 12 - 15 minutes.

Let cool a bit then frost (recipe below).

Frosting:
This recipe is different for me every time as I never measure so I will do my best to get you simmilar results.

Soften 1 tablespoon of butter and add 1/2 cup of confectioners (Powdered) sugar. Mix well. Add 1 Tablespoon of orange juice from your zested orange. add 1-2 teaspoons of granulated sugar. Whisk or mix well (I do this all by hand in a small bowl. You can use a hand mixer as well).  Add Confectioners sugar until you get the desired consistency. You do not want it runny but do not want it super stiff either, it needs to be spreadable.


Sunday, March 27, 2016

Easter Breakfast...


I Love Easter Breakfast!

I admit I am missing my homemade candies from previous years but it was still an amazing Easter breakfast. As a family we decided not to color eggs since the kids do not really like hard boiled eggs, instead I made cheesy scrambled eggs. 


YUM!!!

Sunday, February 28, 2016

DIY sponge daubers for stamping / papercrafting

I have been having lots of fun crafting and trying DIY projects and wanted to share a favorite...
Sponge daubers from cosmetic sponges and PVC tubing!
Half inch PVC with the thicker wall's is best. The wedge sponges work well but I prefer the round. See attached photos...

Note... I posted this on my Facebook page last fall and forgot to post here. Enjoy!


Sunday, January 10, 2016

Playoff season snack Win!


Since it's football playoff season and our team is doing pretty well I decided to try a new snack and oh man I am Sooooo glad I did! Have you ever had a food buzz? I have now, these were one of the best things I have ever eaten. My Hubby and the Girl agree! (as of this writing the boy has not tried them. He is glued to his tablet today, I'ts -10 outside so I'm giving him a pass :)

I started with a basic recipe on Allrecipes here...

Ingredients:
1 packages Little smokies (I used Cheddar)
1/2 - 3/4 cup brown sugar
1 pound bacon (I used low sodium)
tooth picks

  Line a baking pan with a lip with tinfoil or Parchment to make cleanup easier.
  If you have a cooling rack that will fit your pan use it to elevate the smokies for more even cooking. Spray rack with no stick cooking spray or oil depending on what you use.  If you don't have one definitely use parchment paper and turn the smokies half way through your cooking time.
   Blot Little smokies with paper towels so they are not so wet.
   Cut the bacon into 3rds. I just lay the package on a cutting board and cut through the whole package trying to get 3 equal lengths. Keep the sections you are not using in the fridge for easier wrapping,
  Add the brown sugar to a zip top bag (I used a quart size) Toss about 10 smokies at a time in the bag.
   Wrap with the bacon and secure with a tooth pick. Place on rack.
    I added a bit more brown sugar on top before baking.
   Bake at 325 for 40 minutes.
    After 40 minutes turn them over if you like crisp bacon and cook another 10 minutes or so. Again if not using a rack turn them after 20-30 minutes so they are crisp all around.
    I kept them in a Crockpot on low to serve.

Sooooo GOOD!